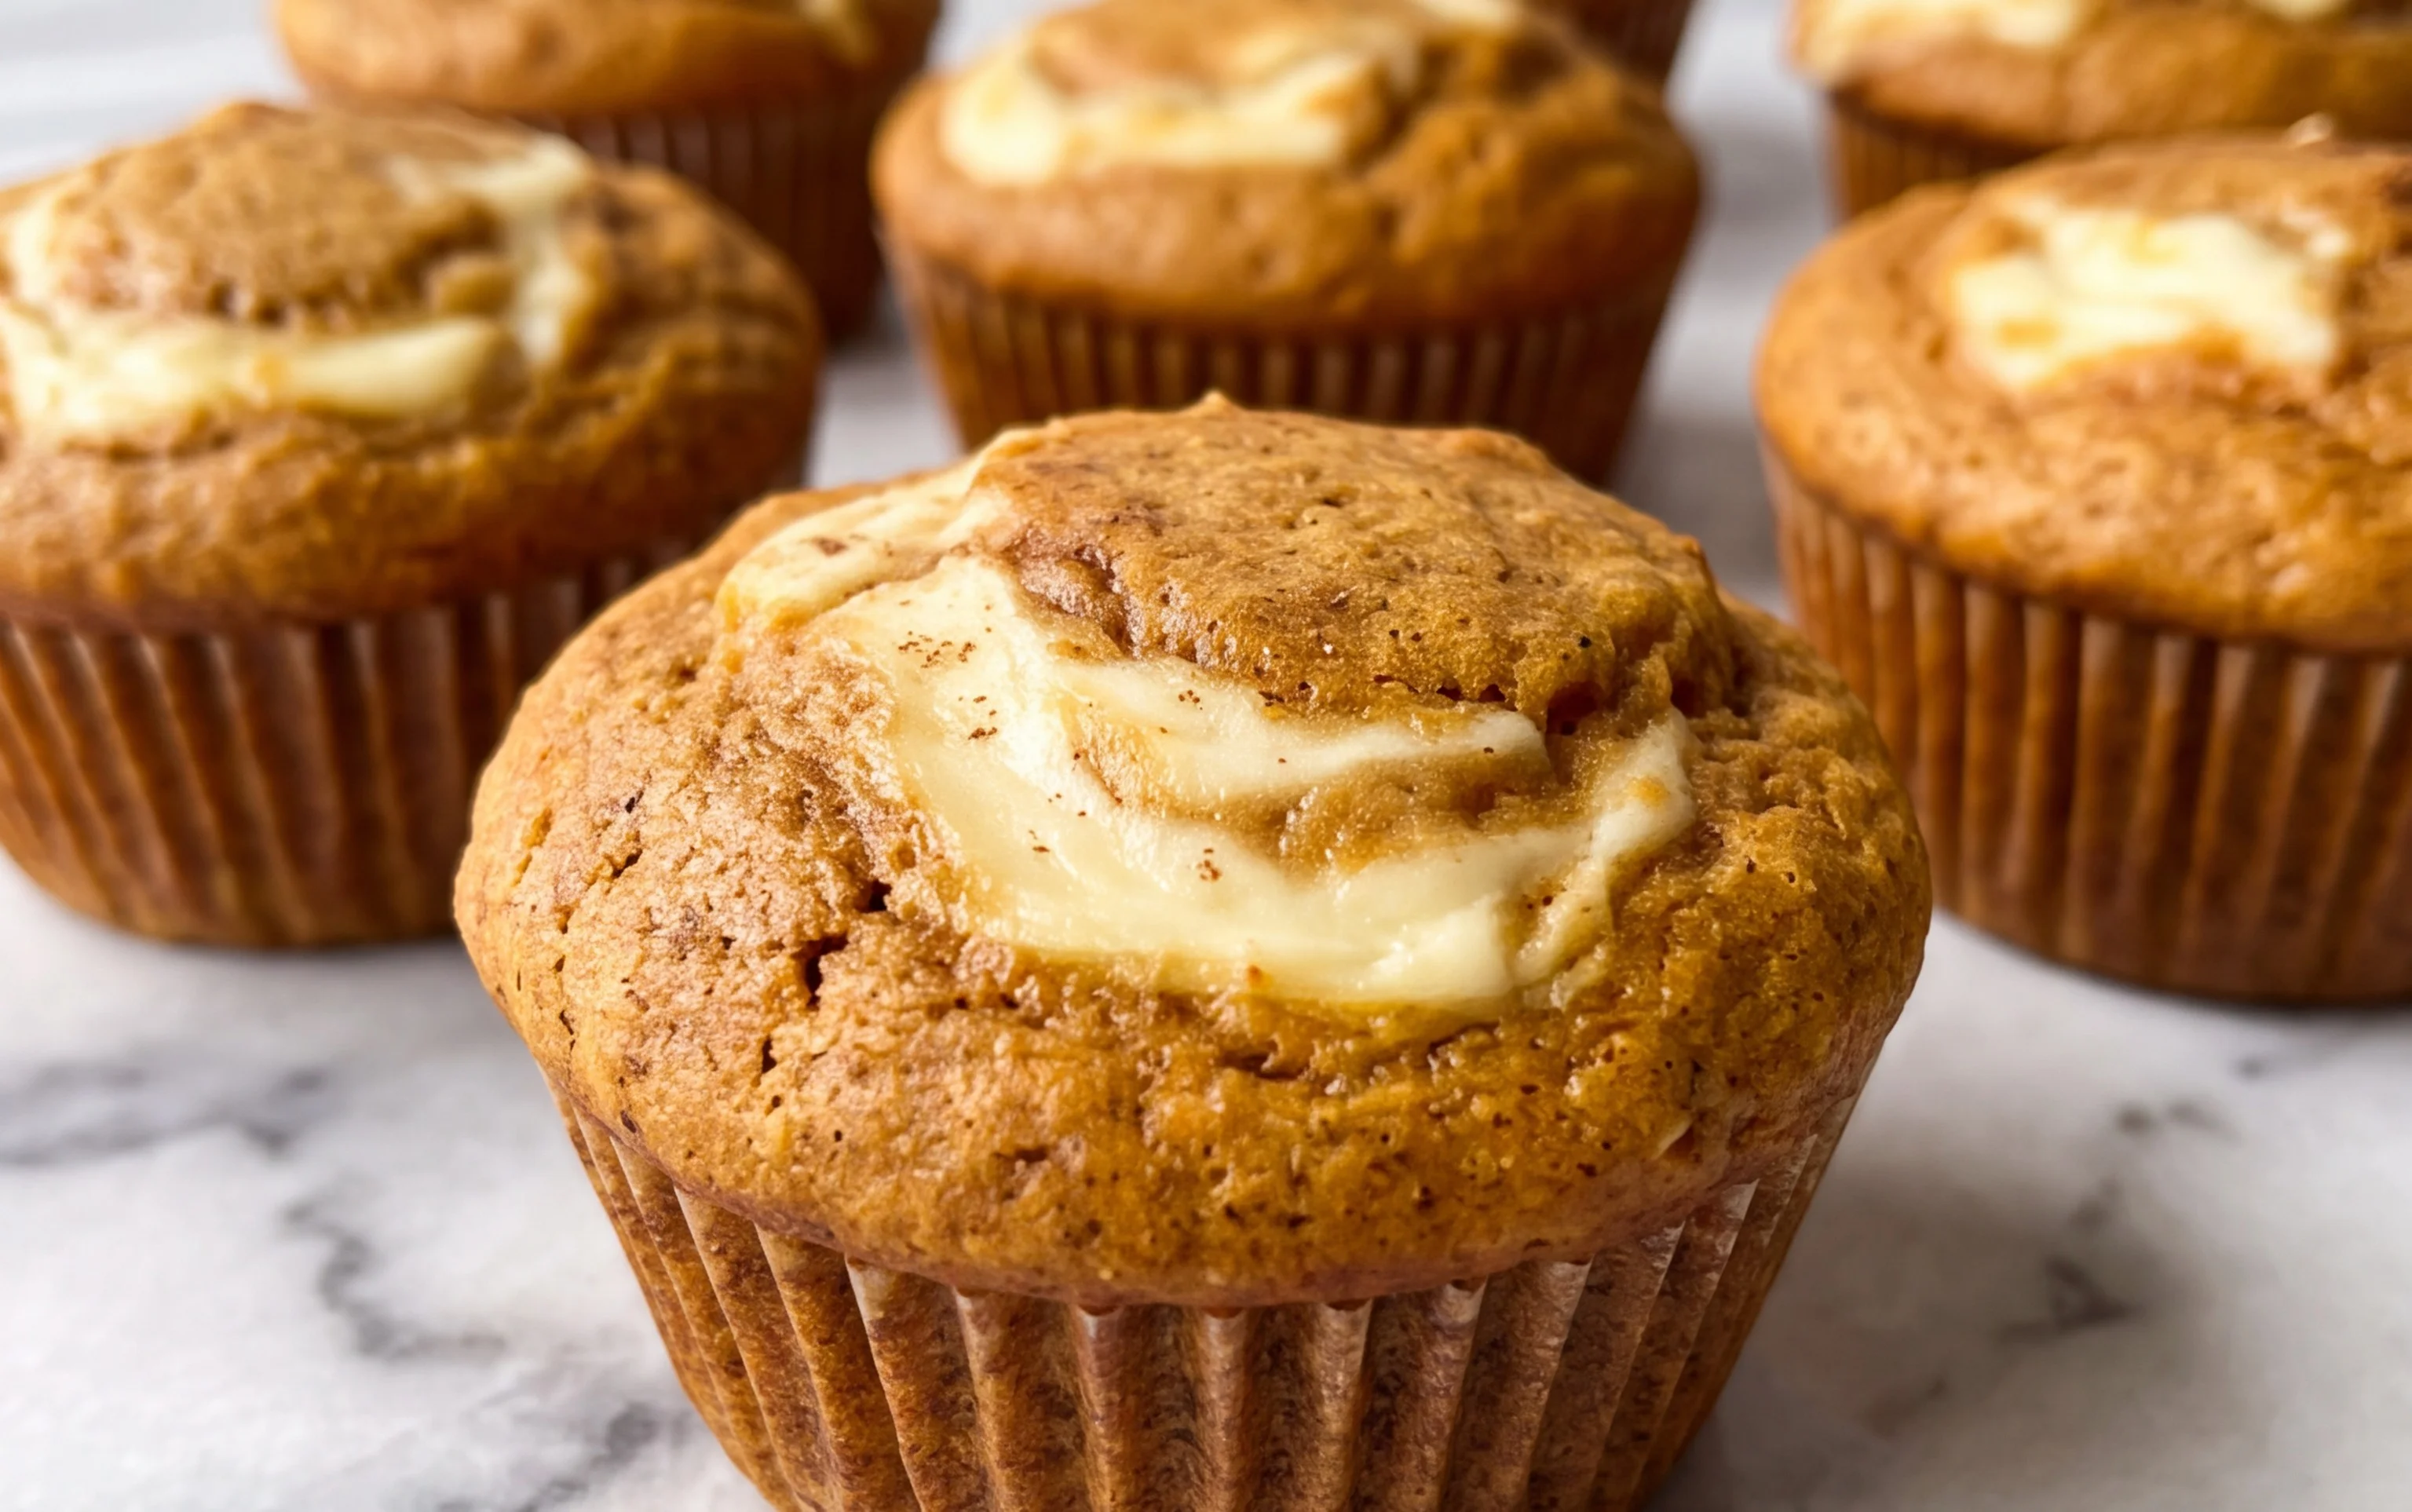
Moist Pumpkin Chocolate Chip Muffins Recipe
Pumpkin chocolate chip muffins are more than just a treat; they’re a warm hug in edible form, a quintessential flavor of autumn that whispers of cozy evenings and crisp air. There’s a reason why this particular muffin combination reigns supreme in bakeries and kitchens alike – the magical marriage of spiced pumpkin and decadent chocolate chips creates an experience that’s both comforting and utterly delightful. Imagine biting into a muffin that’s perfectly moist from the pumpkin, studded with pockets of melted chocolate, and infused with those warm, autumnal spices like cinnamon and nutmeg. It’s that irresistible combination of earthy sweetness and rich, gooey chocolate that makes these pumpkin chocolate chip muffins a crowd-pleaser every single time. Whether you’re looking for a breakfast indulgence, an afternoon pick-me-up, or a sweet ending to a meal, these are guaranteed to bring smiles all around. Let’s dive into creating your own batch of this beloved classic!
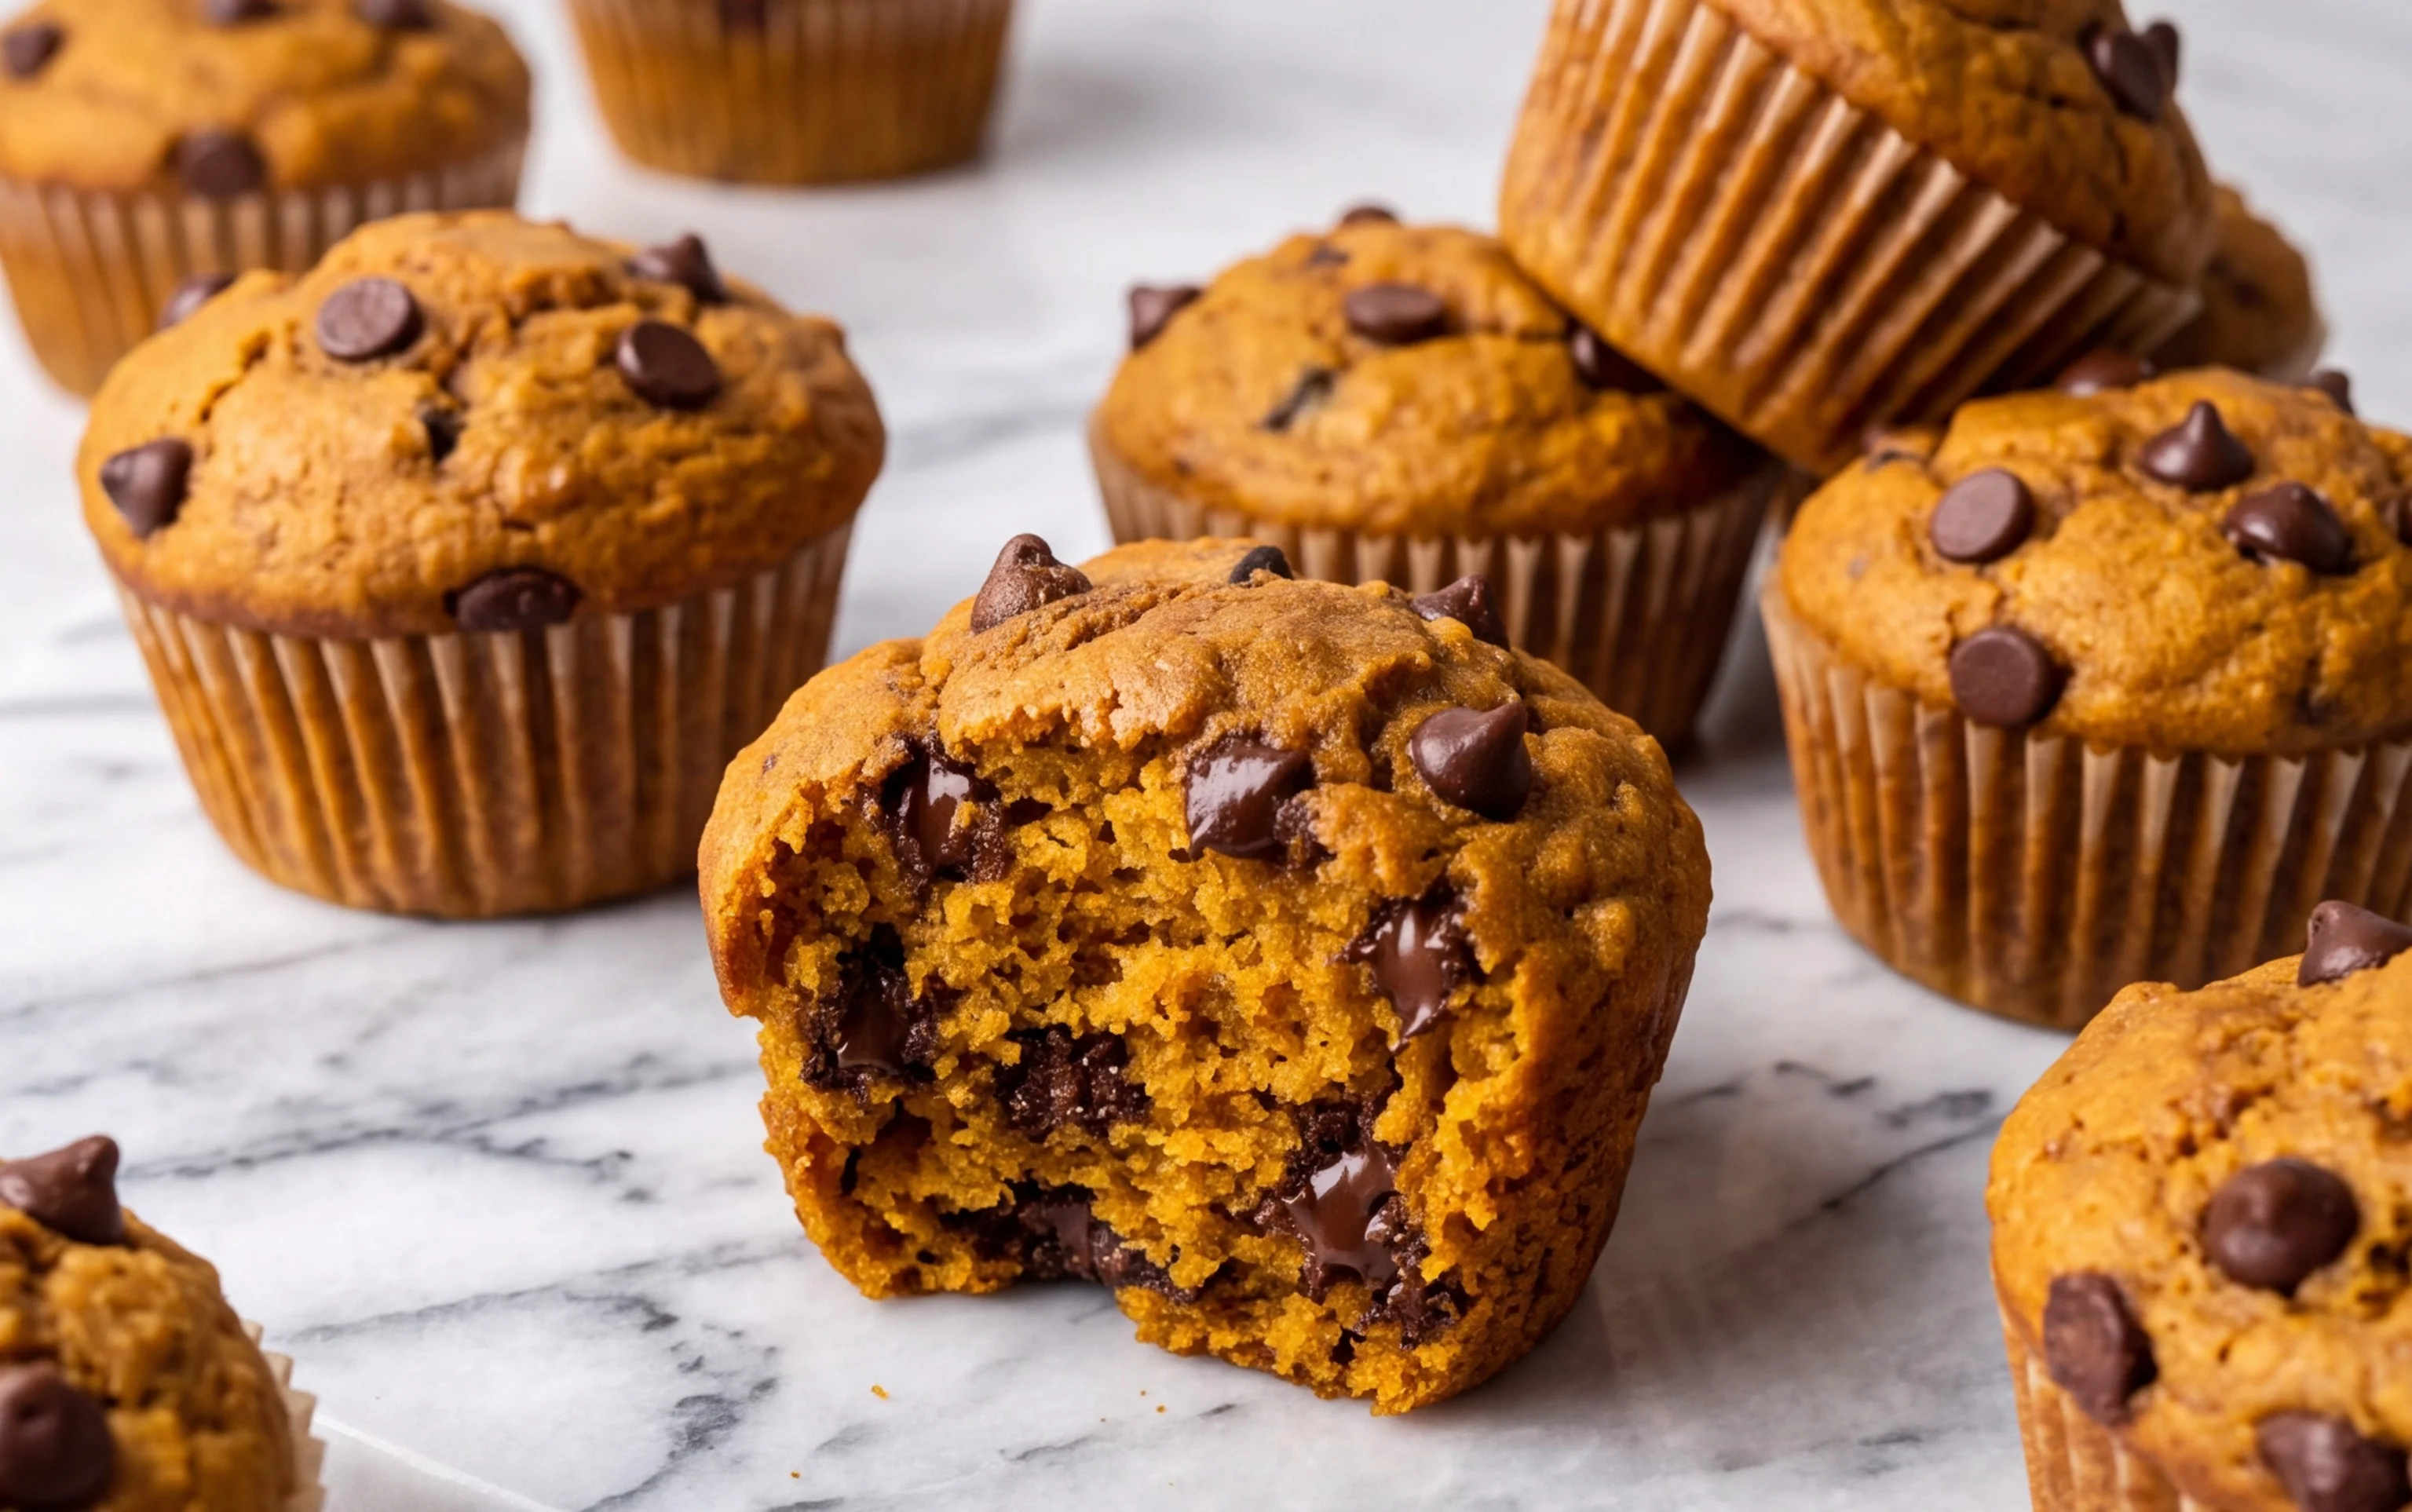
Pumpkin Chocolate Chip Muffins
There’s something undeniably comforting about a warm, freshly baked muffin, especially when it’s bursting with the cozy flavors of pumpkin and rich, melty chocolate chips. These Pumpkin Chocolate Chip Muffins are my go-to recipe for a quick breakfast, a delightful afternoon snack, or even a sweet treat to share with friends. The combination of moist pumpkin, warm spices, and pockets of chocolate creates a symphony of flavors and textures that’s simply irresistible. They’re surprisingly easy to whip up, making them perfect for both seasoned bakers and those just starting their culinary adventures. Let’s get baking!
Ingredients:
- 1 & 3/4 cups (220g) all-purpose flour
- 1 tsp baking soda
- 1 tsp ground cinnamon
- 1/2 tsp salt
- 1 cup (188g) semi-sweet mini chocolate chips
- 1/2 cup (125ml) vegetable oil
- 3/4 cup (150g) granulated sugar
- 1 cup (250g) canned pumpkin puree
- 2 large eggs
- 1/4 cup (60g) yogurt ((plain or vanilla flavor))
- 1 tsp vanilla extract
Getting Started: The Dry Ingredients
To begin our delicious journey, we’ll assemble all the dry components of our muffins. This is a crucial step for ensuring even distribution of leavening agents and spices, leading to perfectly consistent muffins. In a medium-sized bowl, whisk together the all-purpose flour, baking soda, ground cinnamon, and salt. The baking soda is our primary leavener, working with the acidic elements in the pumpkin and yogurt to create a light and airy texture. The cinnamon provides that quintessential autumnal warmth that pairs so beautifully with pumpkin, and the salt, though a small amount, is vital for enhancing all the other flavors. Give it a good whisk until everything is thoroughly combined – you don’t want any pockets of baking soda or cinnamon. Once your dry ingredients are unified, set this bowl aside.
The Wet Ingredients: A Creamy Foundation
Now, let’s move on to the wet ingredients, which will form the luscious base of our muffins. In a separate, larger bowl, we’ll combine the liquid elements. Start by pouring in the vegetable oil. This oil will contribute to the incredible moistness of our muffins, keeping them tender and flavorful. Next, add the granulated sugar. While sugar is often thought of as just a sweetener, it also plays a role in the texture and browning of baked goods. Whisk these two together until they are well incorporated. Then, it’s time for our star ingredient: the canned pumpkin puree. Make sure you’re using pure pumpkin puree and not pumpkin pie filling, which already contains added sugar and spices. Dollop the entire cup of pumpkin puree into the bowl. Follow this with the two large eggs. Eggs are binders, providing structure to our muffins, and also contribute richness. Finally, add the yogurt and the vanilla extract. The yogurt, whether plain or vanilla, adds another layer of moisture and a slight tang that balances the sweetness. The vanilla extract is a flavor enhancer, amplifying the sweetness and complementing the pumpkin and chocolate beautifully. Whisk all of these wet ingredients together until the mixture is smooth and uniform. It should be a beautiful, creamy orange color.
Bringing It All Together: The Batter Creation
With our dry and wet ingredients prepped, it’s time to bring them together to form our muffin batter. This is a stage where we need to be mindful of overmixing, which can lead to tough muffins. Gradually add the dry ingredient mixture to the wet ingredient mixture. Using a spatula or a wooden spoon, gently fold the ingredients together. Start by incorporating about a third of the dry ingredients into the wet, mixing until just combined. Then, add another third, and mix again. Finally, add the last of the dry ingredients and fold until you no longer see streaks of flour. It’s perfectly okay if there are a few small lumps; this is often a sign of proper mixing. The goal is to just bring everything together without overworking the gluten in the flour.
The Grand Finale: Chocolate Chips and Baking
The final, and perhaps most exciting, step before baking is incorporating those delightful semi-sweet mini chocolate chips. Once your batter is just combined, gently fold in the chocolate chips. I like using mini chocolate chips because they distribute more evenly throughout the batter and create little pockets of melted chocolate in every bite. If you prefer larger chunks of chocolate, feel free to use regular-sized chips, but be aware they might sink to the bottom more easily.
Now, let’s get these beauties into the oven! Preheat your oven to 375°F (190°C). While the oven is preheating, line a standard 12-cup muffin tin with paper liners or grease it well. Spoon the batter evenly into the prepared muffin cups, filling each about two-thirds to three-quarters full. This allows them enough room to rise without overflowing.
Baking to Perfection
Place the muffin tin in the preheated oven. Bake for 18-22 minutes, or until a toothpick inserted into the center of a muffin comes out clean. The tops should be a lovely golden brown. The aroma that will fill your kitchen during this time is simply heavenly – a perfect blend of pumpkin spice and warm chocolate. Once baked, remove the muffin tin from the oven and let the muffins cool in the tin for about 5-10 minutes. This allows them to set up slightly before you transfer them to a wire rack to cool completely. Cooling on a wire rack prevents the bottoms from becoming soggy. Enjoy these delightful Pumpkin Chocolate Chip Muffins warm, at room temperature, or even slightly chilled! They are a guaranteed crowd-pleaser.
Conclusion:
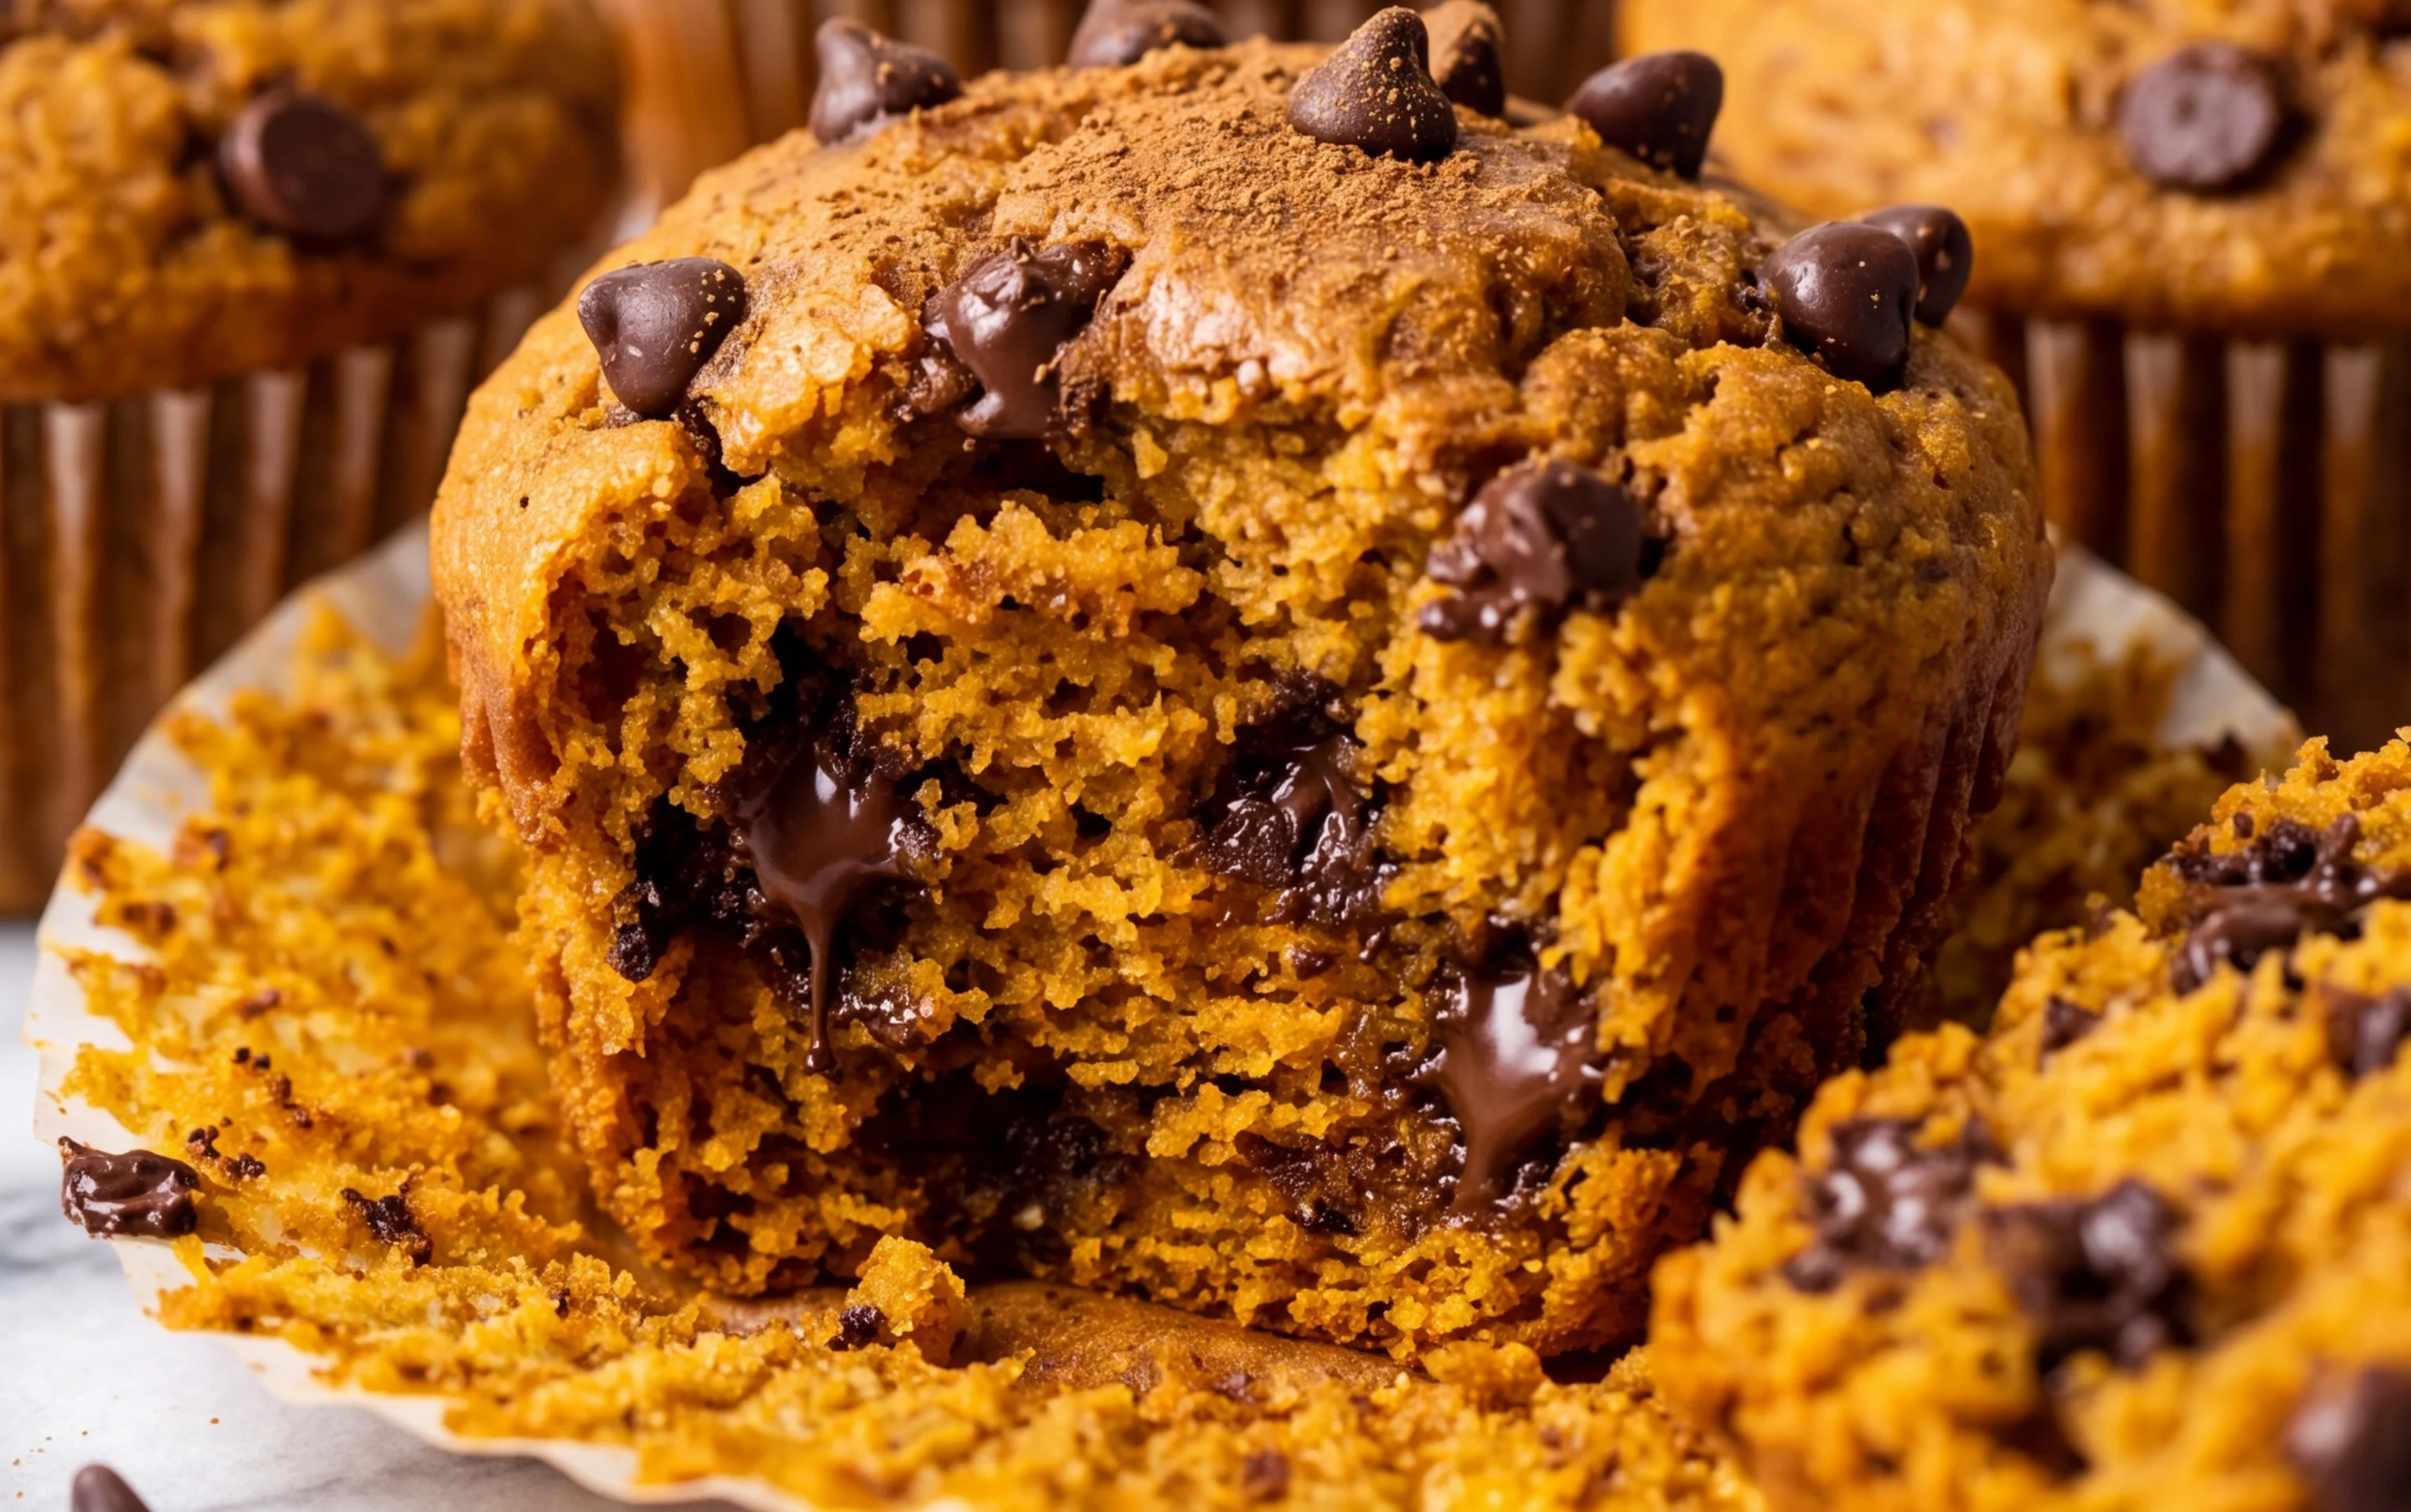
There you have it – a recipe for truly delightful Pumpkin Chocolate Chip Muffins that I’m so excited for you to try! These muffins are the perfect blend of cozy fall flavors, with the warm spice of pumpkin and the sweet, gooey bursts of chocolate chips. They’re wonderfully moist, incredibly easy to make, and guaranteed to become a family favorite. Whether you’re looking for a special breakfast treat, a delightful afternoon snack, or something to share at your next gathering, these pumpkin chocolate chip muffins hit all the right notes. I encourage you to grab your ingredients and whip up a batch; you won’t regret it!
Serve them warm with a pat of butter for an extra decadent experience, or enjoy them at room temperature with a glass of milk or a hot cup of coffee. For a fun twist, try adding a sprinkle of cinnamon sugar on top before baking, or fold in some chopped pecans for added crunch. Don’t be afraid to experiment with different types of chocolate chips – dark chocolate or even white chocolate can offer a unique flavor profile!
Frequently Asked Questions about Pumpkin Chocolate Chip Muffins:
Can I make these muffins ahead of time?
Absolutely! Pumpkin chocolate chip muffins store wonderfully. Once cooled completely, you can keep them in an airtight container at room temperature for up to 3 days, or in the refrigerator for up to a week. They also freeze beautifully for longer storage; just wrap them tightly in plastic wrap and then in foil, and thaw at room temperature before enjoying.
What kind of pumpkin puree should I use?
It’s best to use 100% pure pumpkin puree, not pumpkin pie filling. Pure pumpkin puree provides that authentic pumpkin flavor without added sugars or spices, allowing you to control the sweetness and spice level of your muffins. You can find it easily in the canned goods aisle of most grocery stores.
My muffins are a bit dense. What could I have done wrong?
A common reason for dense muffins is overmixing the batter. Once you add the wet and dry ingredients, mix them just until they are combined. A few lumps are perfectly fine! Overmixing develops the gluten in the flour, leading to a tougher texture. Also, ensure your leavening agents (baking soda and baking powder) are fresh.
Pumpkin Chocolate Chip Muffins
Delicious and moist pumpkin chocolate chip muffins, perfect for fall or any time of year.
Ingredients
-
1 & 3/4 cups (220g) all-purpose flour
-
1 tsp baking soda
-
1 tsp ground cinnamon
-
1/2 tsp salt
-
1 cup (188g) semi-sweet mini chocolate chips
-
1/2 cup (125ml) vegetable oil
-
3/4 cup (150g) granulated sugar
-
1 cup (250g) canned pumpkin puree
-
2 large eggs
-
1/4 cup (60g) plain yogurt
-
1 tsp vanilla extract
Instructions
-
Step 1
Preheat your oven to 375°F (190°C). Line a 12-cup muffin tin with paper liners or grease it well. -
Step 2
In a large bowl, whisk together the all-purpose flour, baking soda, ground cinnamon, and salt. -
Step 3
In a separate medium bowl, whisk together the vegetable oil, granulated sugar, canned pumpkin puree, large eggs, plain yogurt, and vanilla extract until well combined. -
Step 4
Pour the wet ingredients into the dry ingredients and stir until just combined. Be careful not to overmix. -
Step 5
Gently fold in the semi-sweet mini chocolate chips. -
Step 6
Divide the batter evenly among the prepared muffin cups, filling each about two-thirds full. -
Step 7
Bake for 18-20 minutes, or until a toothpick inserted into the center of a muffin comes out clean. -
Step 8
Let the muffins cool in the muffin tin for a few minutes before transferring them to a wire rack to cool completely.
Important Information
Nutrition Facts (Per Serving)
It is important to consider this information as approximate and not to use it as definitive health advice.
Allergy Information
Please check ingredients for potential allergens and consult a health professional if in doubt.